노드와 안드로이드를 연동
- 추후에 노드와 db 연동으로 db - node - android 로 가능
CODE
SERVER
/**
 * 익스프레스를 사용한 가장 단순한 샘플
 *
 * @date 2016-10-25
 * @author Mike
 */

// Express 기본 모듈 불러오기
var express = require('express')
    , http = require('http');

// 익스프레스 객체 생성
var app = express();

// 기본 포트를 app 객체에 속성으로 설정
app.set('port', process.env.PORT || 7878);

app.use(function(req, res, next) {

    res.send({name:'test', age:'20'});
});


// Express 서버 시작
http.createServer(app).listen(app.get('port'), function(){
    console.log('익스프레스 서버를 시작했습니다 : ' + app.get('port'));
});
Android
Layout
<?xml version="1.0" encoding="utf-8"?>
<LinearLayout xmlns:android="http://schemas.android.com/apk/res/android"
    xmlns:tools="http://schemas.android.com/tools"
    android:layout_width="match_parent"
    android:layout_height="match_parent"
    tools:context="com.example.kwak.myapplication.ResultActivity"
    android:orientation="vertical">

    <Button
        android:id="@+id/btn_json"
        android:layout_width="match_parent"
        android:layout_height="wrap_content"
        android:text="Button" />

    <TextView
        android:id="@+id/jsonObj"
        android:layout_width="match_parent"
        android:layout_height="wrap_content"
        android:textSize="30sp" />
</LinearLayout>
java
public class ResultActivity extends AppCompatActivity {
    TextView jsonView;

    @SuppressLint("SetTextI18n")
    @Override
    protected void onCreate(Bundle savedInstanceState) {
        super.onCreate(savedInstanceState);
        setContentView(R.layout.activity_result);

        jsonView = findViewById(R.id.jsonObj);

        findViewById(R.id.btn_json).setOnClickListener(new View.OnClickListener() {
            @Override
            public void onClick(View v) {
                new JSONTask().execute("http://192.168.0.10:7878/");
            }
        });

    }

    public class JSONTask extends AsyncTask<String,String,String> {

        @Override
        protected String doInBackground(String... urls) {

            HttpURLConnection con = null;
            BufferedReader reader = null;
            try {
                URL url = new URL(urls[0]);

                con = (HttpURLConnection)url.openConnection();
                con.connect();

                InputStream stream = con.getInputStream();

                reader = new BufferedReader(new InputStreamReader(stream));

                StringBuffer buffer = new StringBuffer();

                String line = "";

                while ((line = reader.readLine()) != null) buffer.append(line);

                return buffer.toString();

            } catch (MalformedURLException e) {
                e.printStackTrace();
            } catch (IOException e) {
                e.printStackTrace();
            }finally {
                con.disconnect();
                try {
                    if(reader != null)
                        reader.close();
                } catch (IOException e) {
                    e.printStackTrace();
                }
            }
            return null;
        }

        @Override
        protected void onPostExecute(String s) {
            super.onPostExecute(s);
            jsonView.setText(s);
        }
    }
}
RESULT
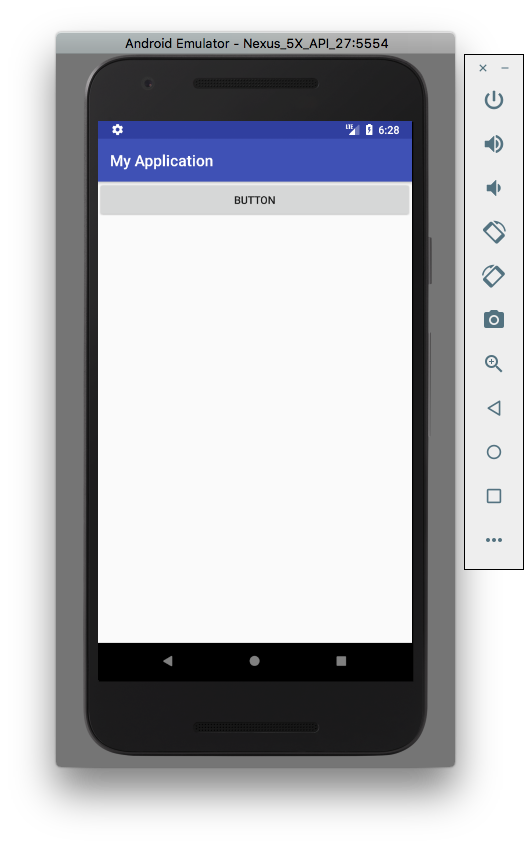
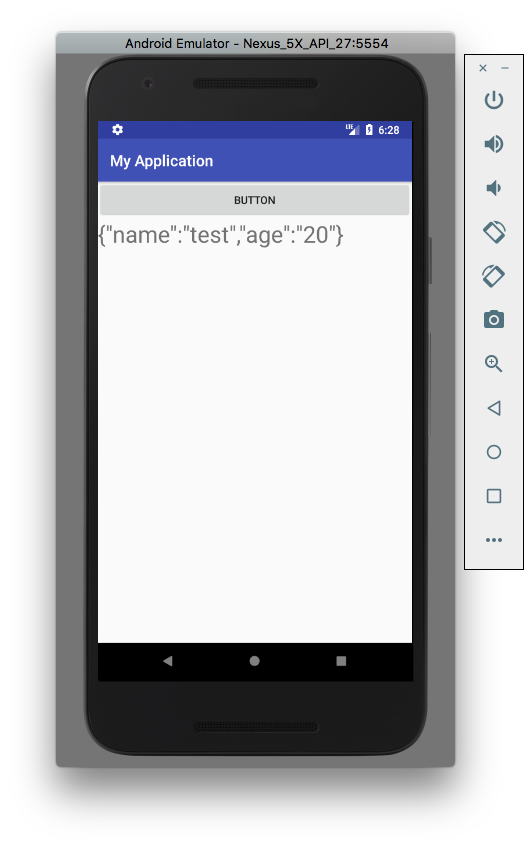
AsyncTask라는 비동기 클래스를 이용해서 url 에서 json 값을 가져온다.